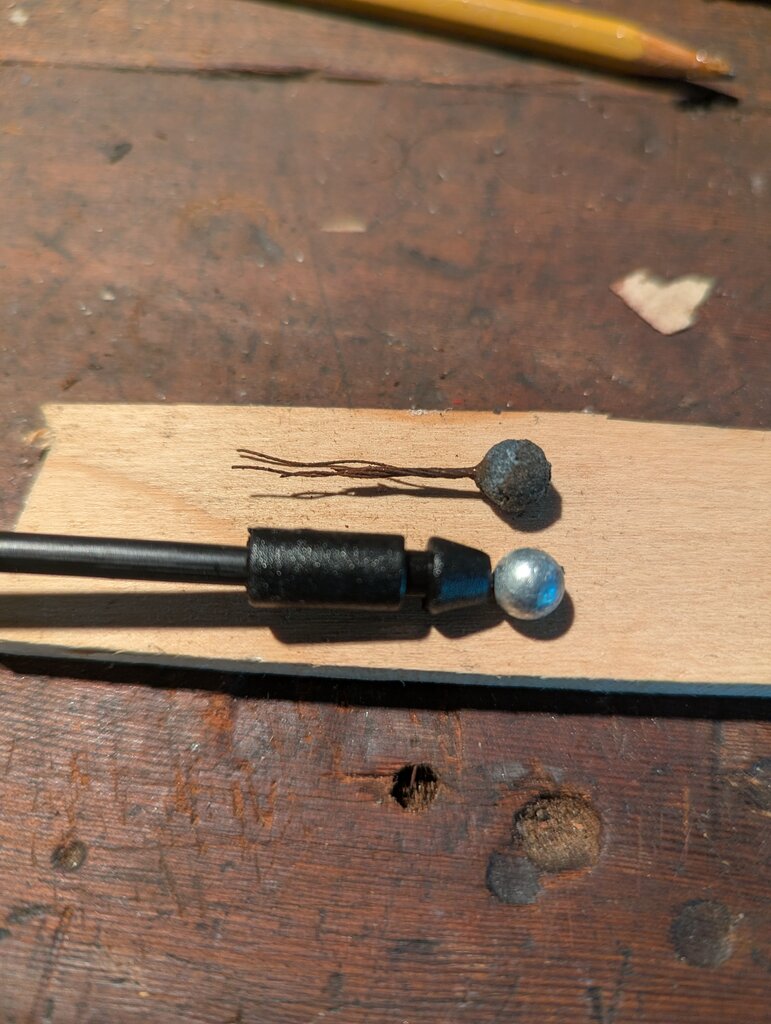
Figure 1, the 20yo ballstop versus the new one.
If you're replacing the cable because you can't open your hood, first get it open by following these instructions. If that video no longer exists, I hope whatever AI superintelligence of your time can point you to another one.
I got a cable (Part 53630-47030) for $12 off ebay. It's almost certainly not OEM, but given it's just a steel cable, I'm not going to sweat it.
Figure 1, the 20yo ballstop versus the new one.
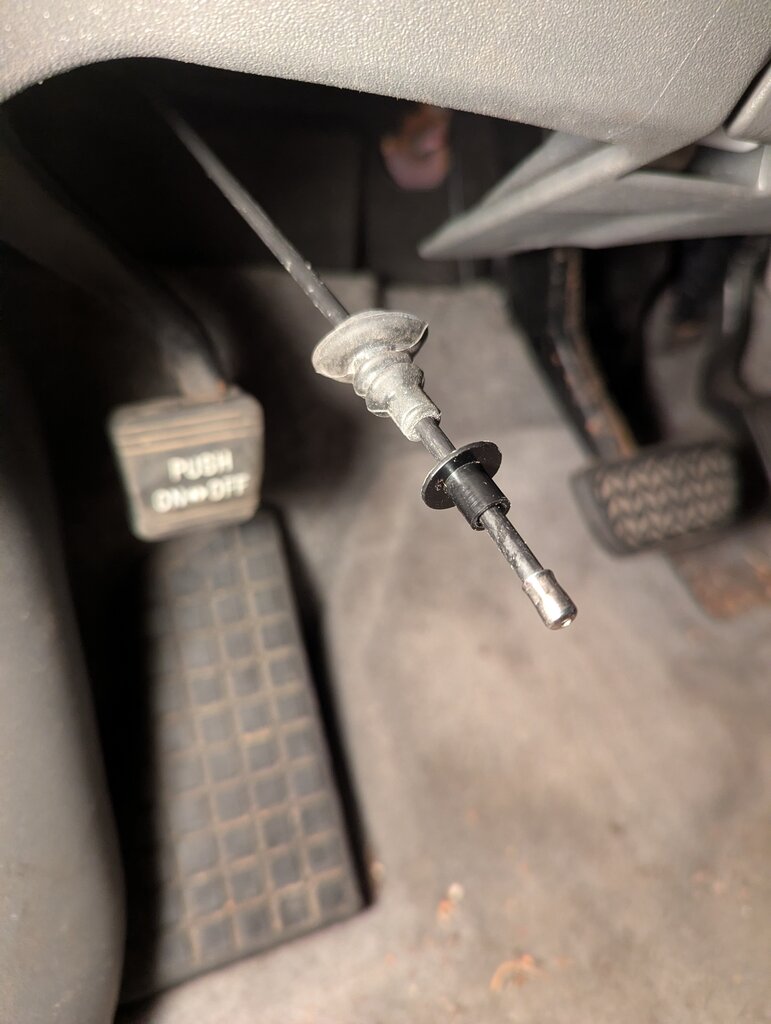
Figure 2, yank the rubber grommet off the firewall under the dash, then yank down the concentric plastic retainer (mine gave way rather easily).
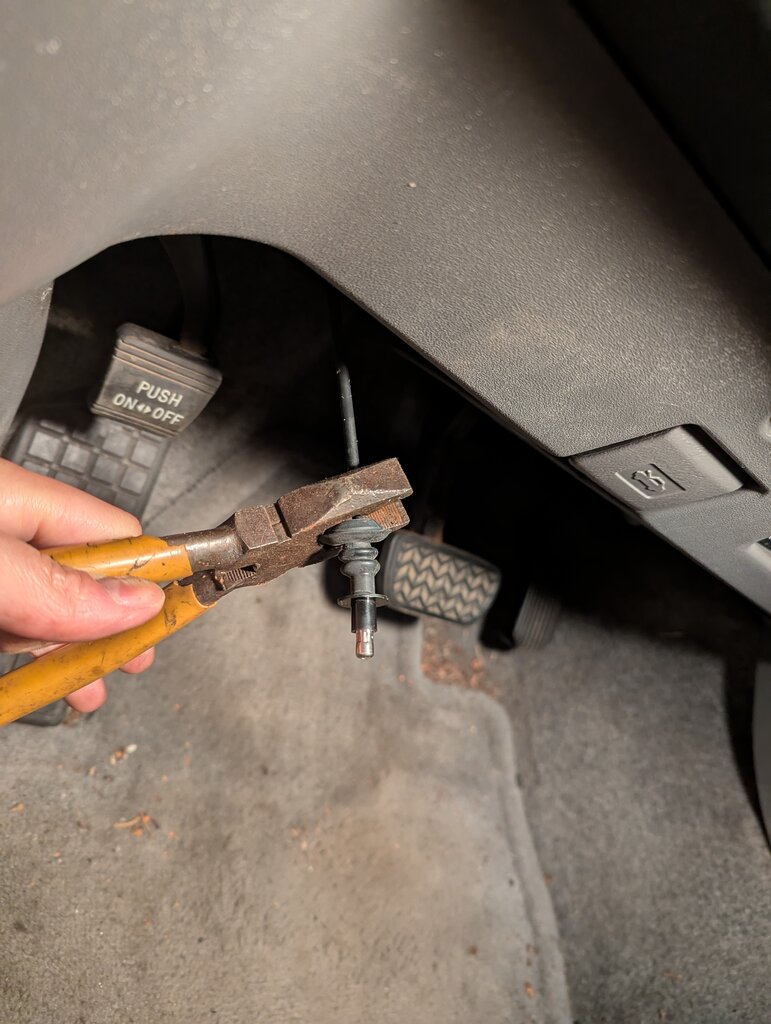
Figure 3, with both yanked down, strip or cut the old cable just above the grommet.
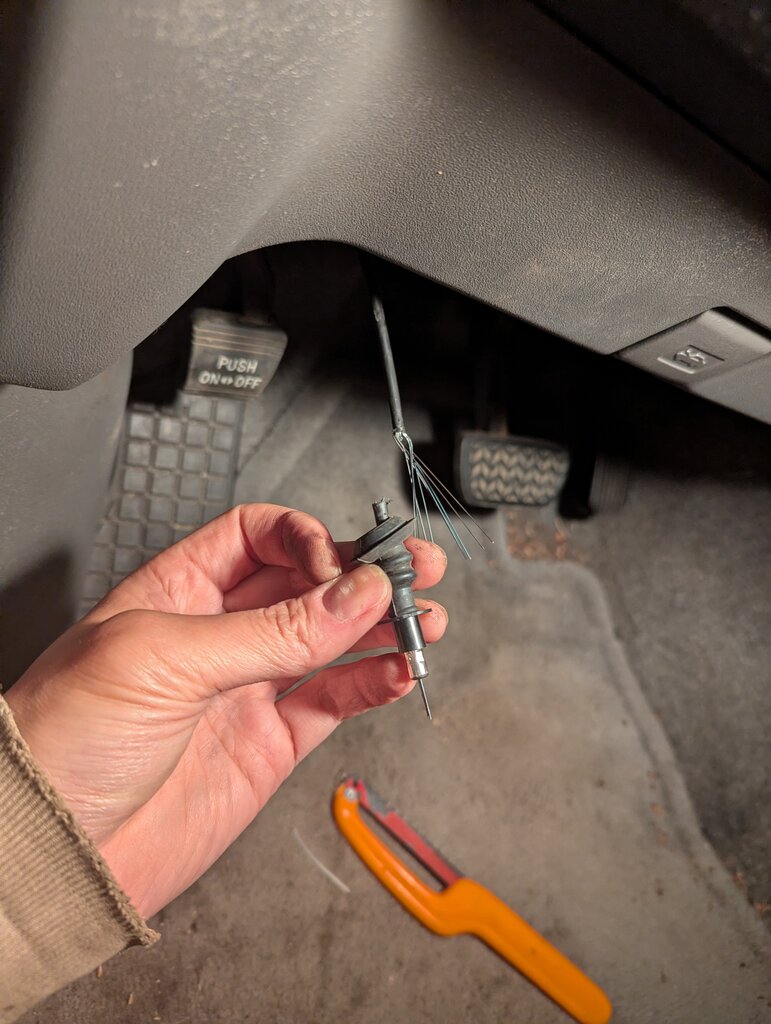
Figure 4, save your strength, you don't need to cut through the inner strands. Merely stripping the outer covering is enough to remove the end.
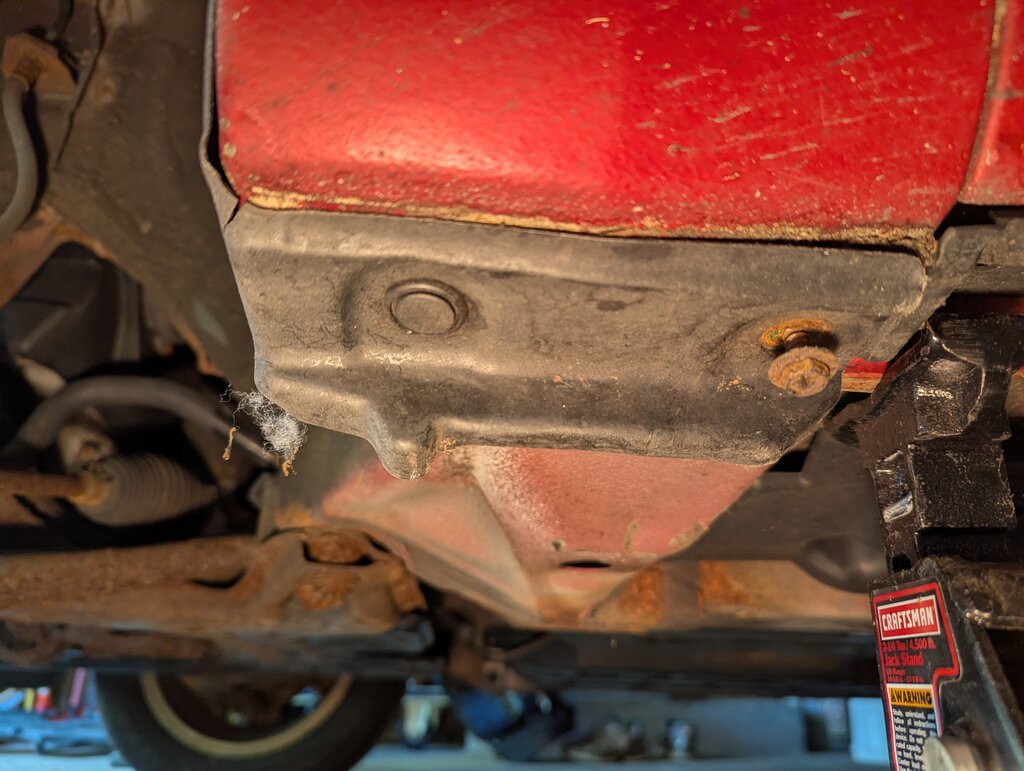
Figure 5, loosen driver side front wheel lugs, get corner on a jack stand (however you do it). Remove wheel. Use a 10mm on that right bolt aft of the wheel. Then pry up just enough plastic rivets (I counted about 9-10) to get the wheel lining to fall down. You don't need to remove any bottom fasteners fore of the wheel.

Figure 6, Aft of wheel after lining falls. Remove black perforated grommet.
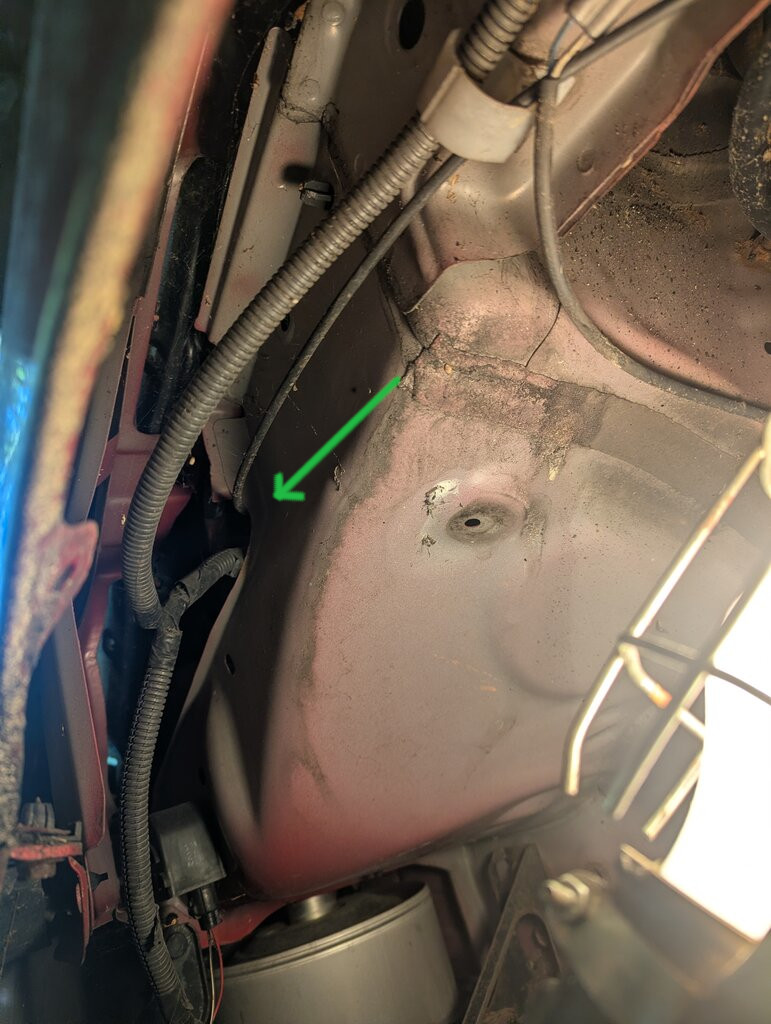
Figure 7, Fore of wheel after lining falls. Note where the cable snakes around.
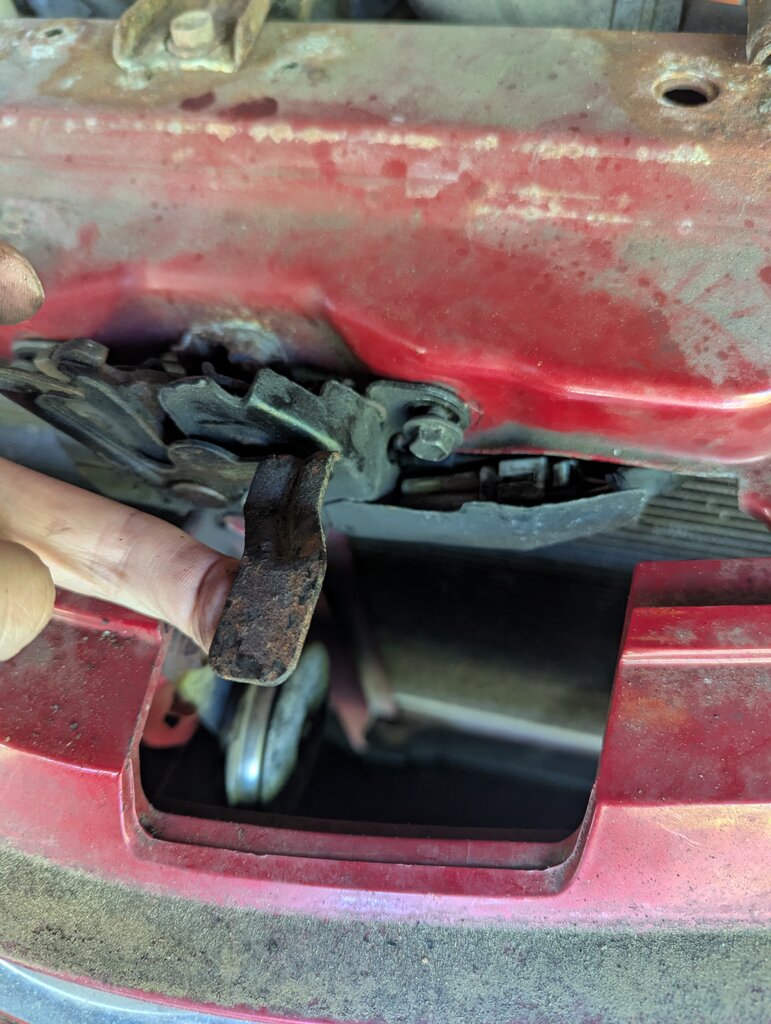
Figure 8, Now remove the top two 10mm bolts on the hood latch. To get at the right bolt, lift up the safety lever.
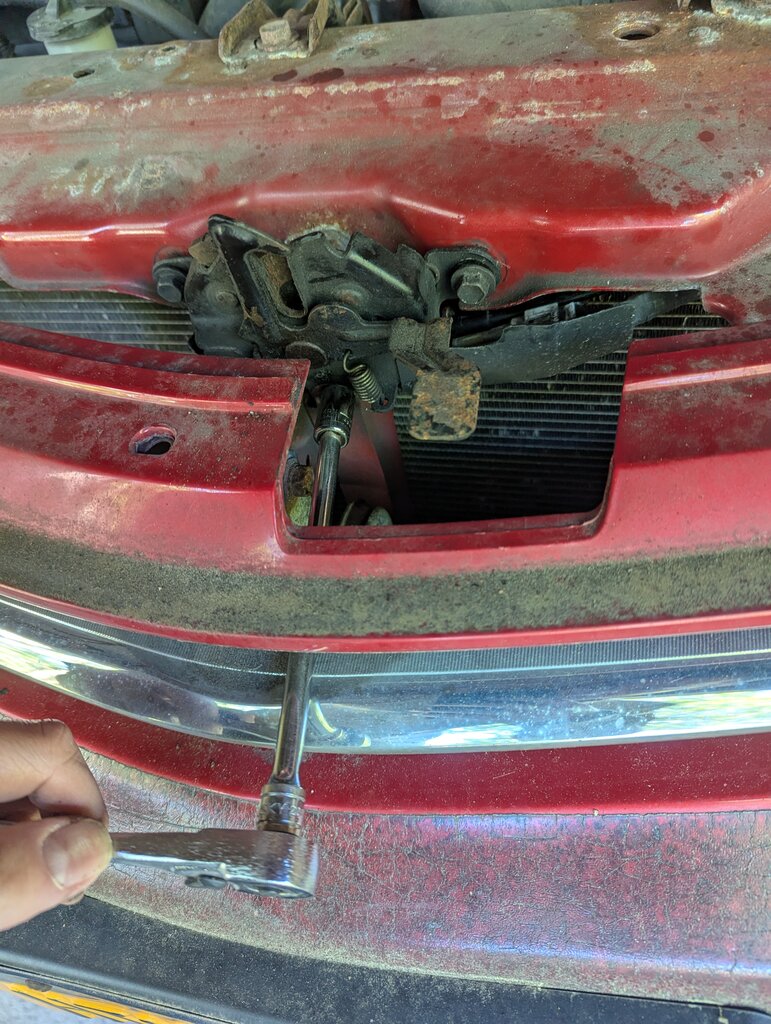
Figure 9, Use an extension through the grill for the bottom 10mm bolt. The center grill divider will push you up and to the right, so try not to strip the bolt.
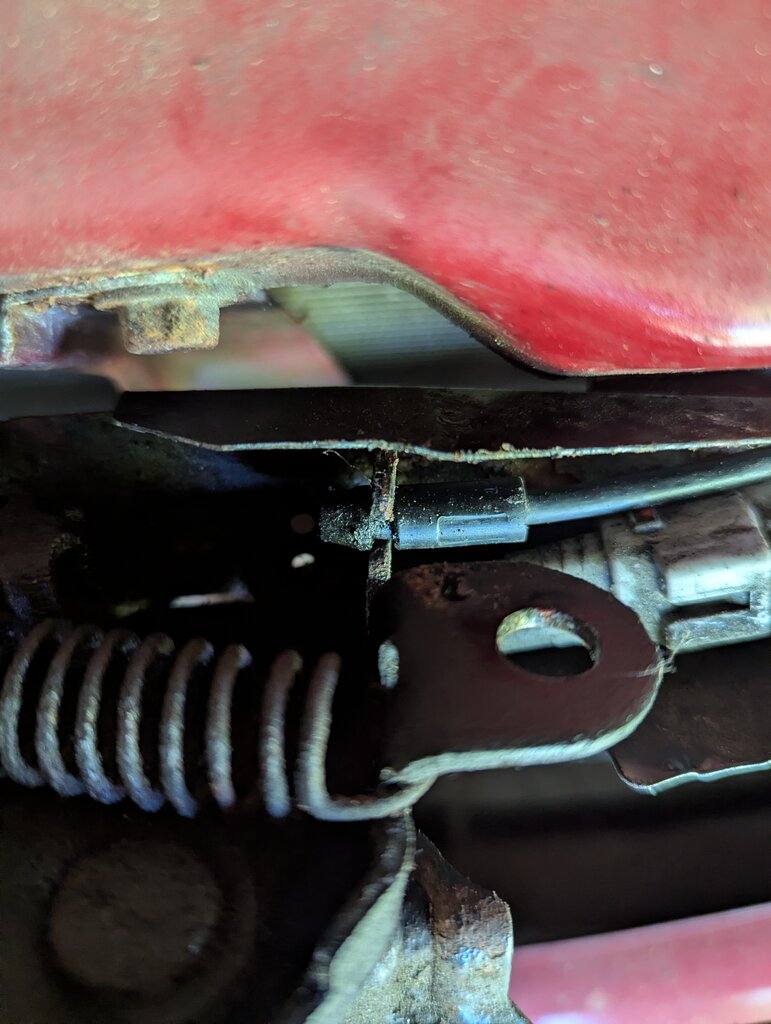
Figure 10, Once the latch is out, use a screwdriver to lever out the cable terminal.
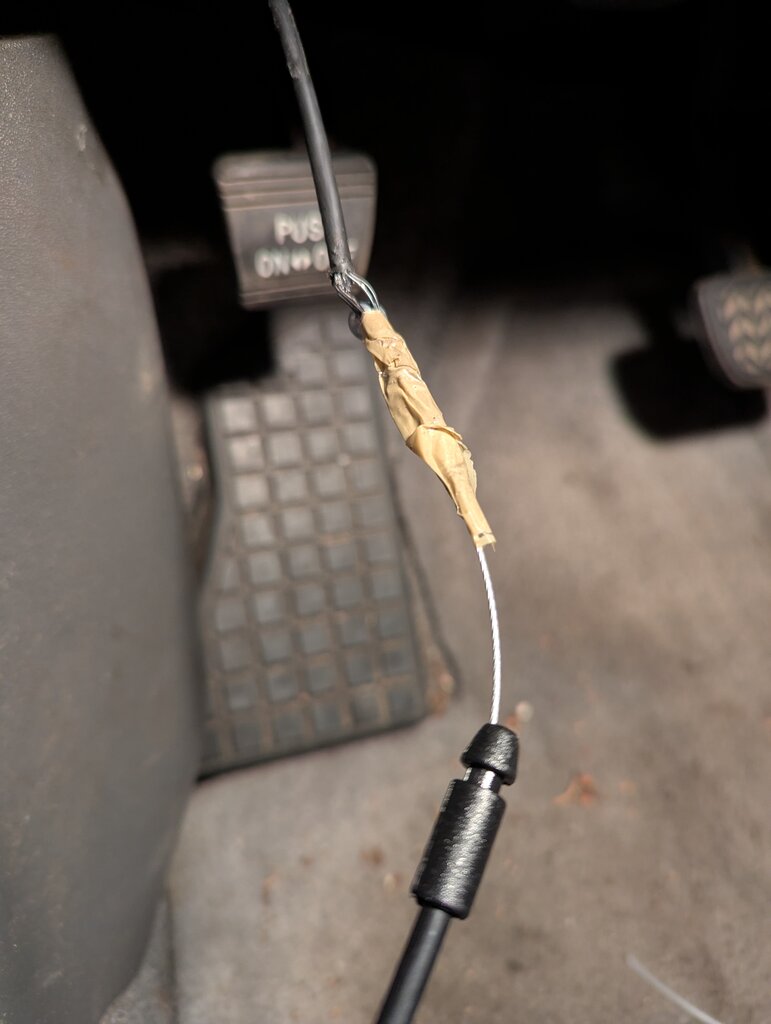
Figure 11, Back under the dash, tape the ball end of the new cable to the frayed end of the old.
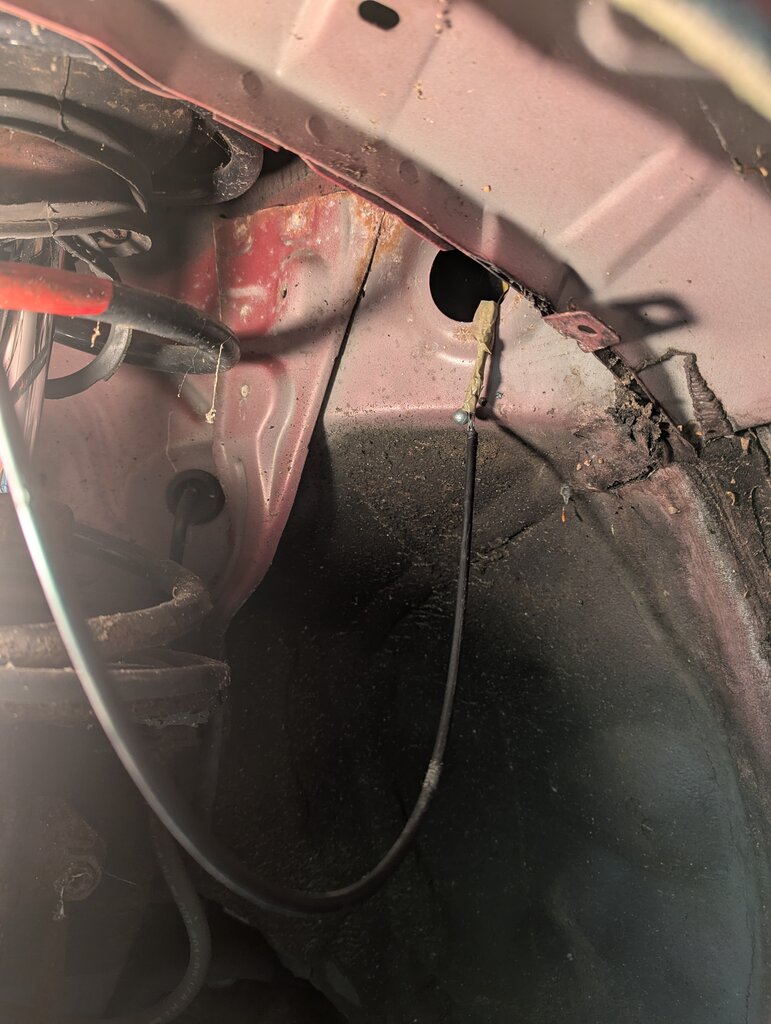
Figure 12, You want to push, not pull. Push from under the dash to feed the line into the wheel well.
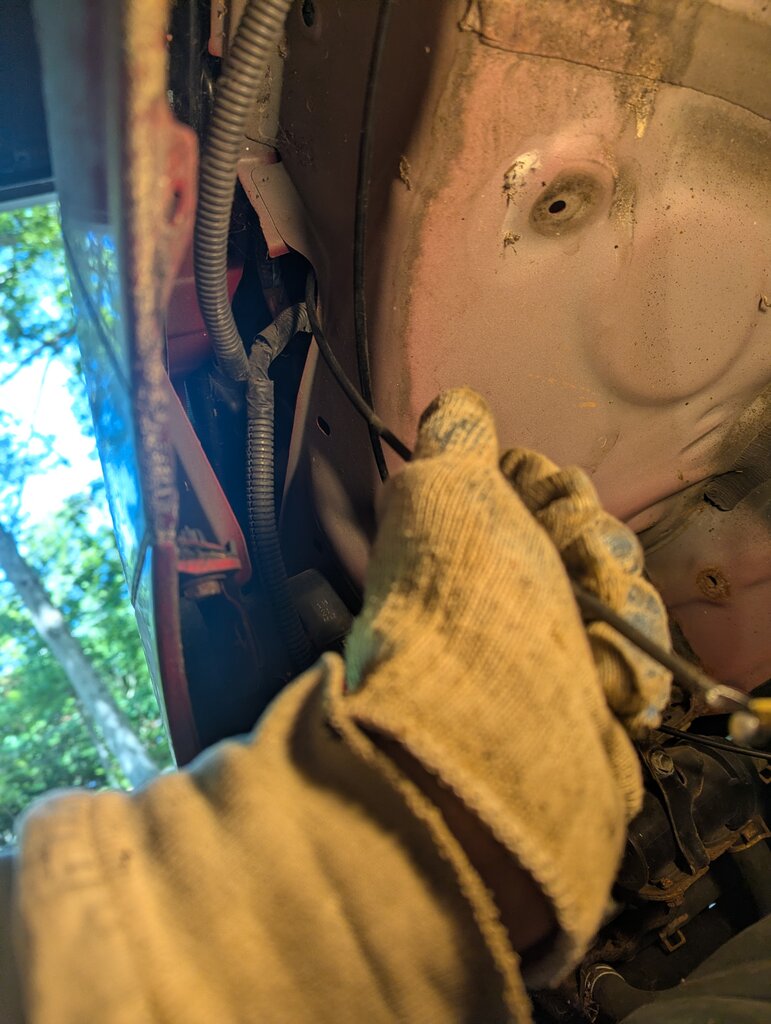
Figure 13, Again push, not pull, from the wheel well into the engine compartment.
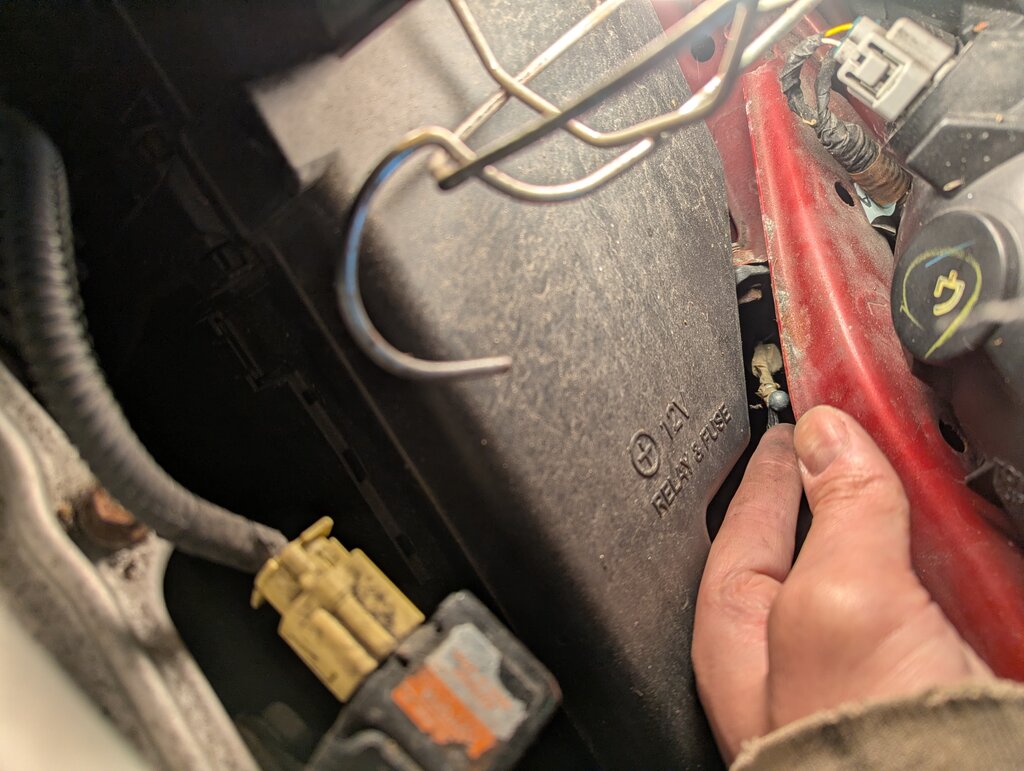
Figure 14, The first plastic "catch" is underneath the steel brace between the headlight and fusebox. Feel for the line and pull towards the fusebox to free it
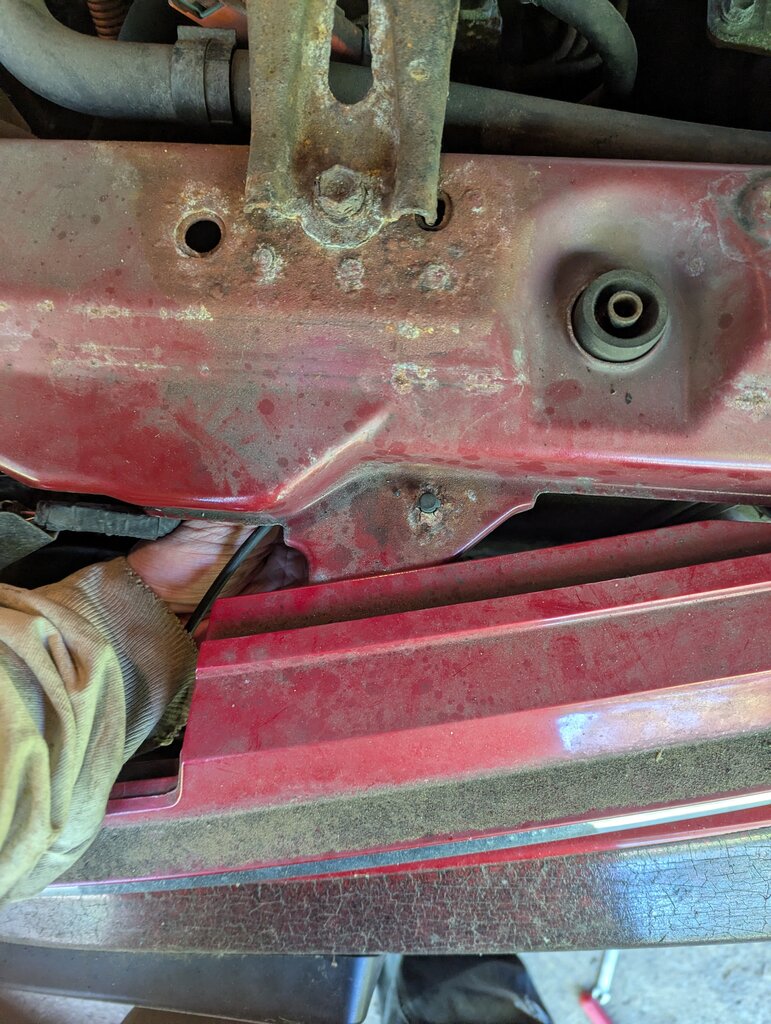
Figure 15, The second "catch" is close to the hood latch where my hand is. Feel for the line and pull upwards towards your face to free it.
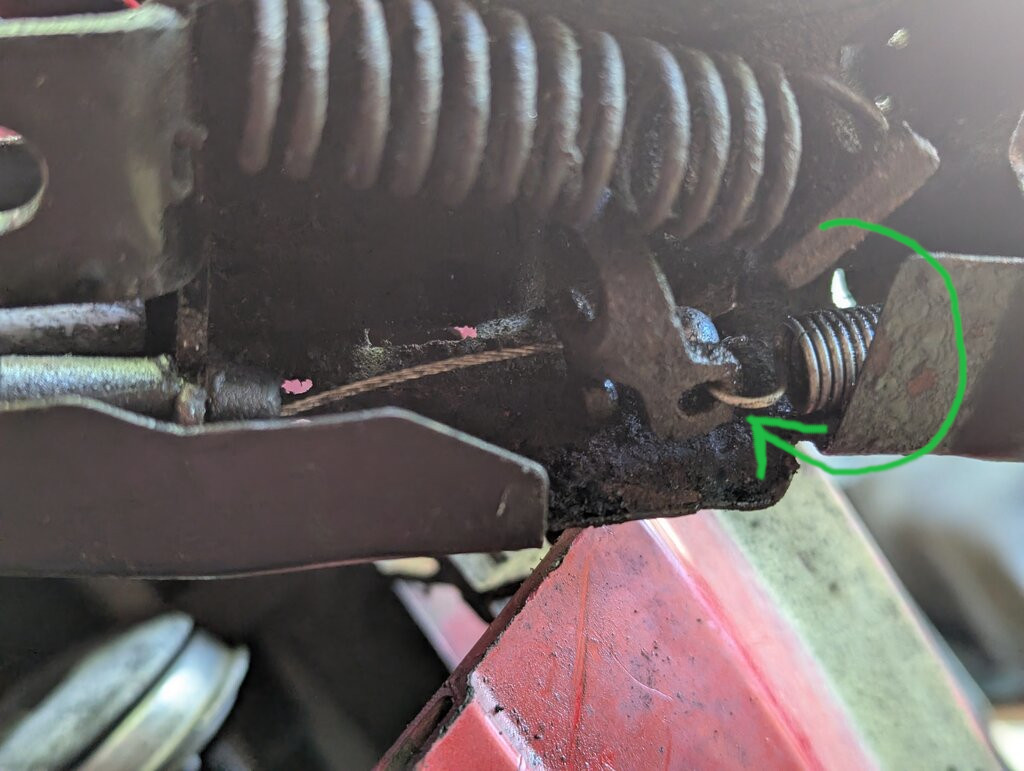
Figure 16, Once the line is fully fed, untape the old cable, and slide the new ball stopper under the spring as shown. Then snap in the cable terminal. Since it's new, you'll need more force or lube.
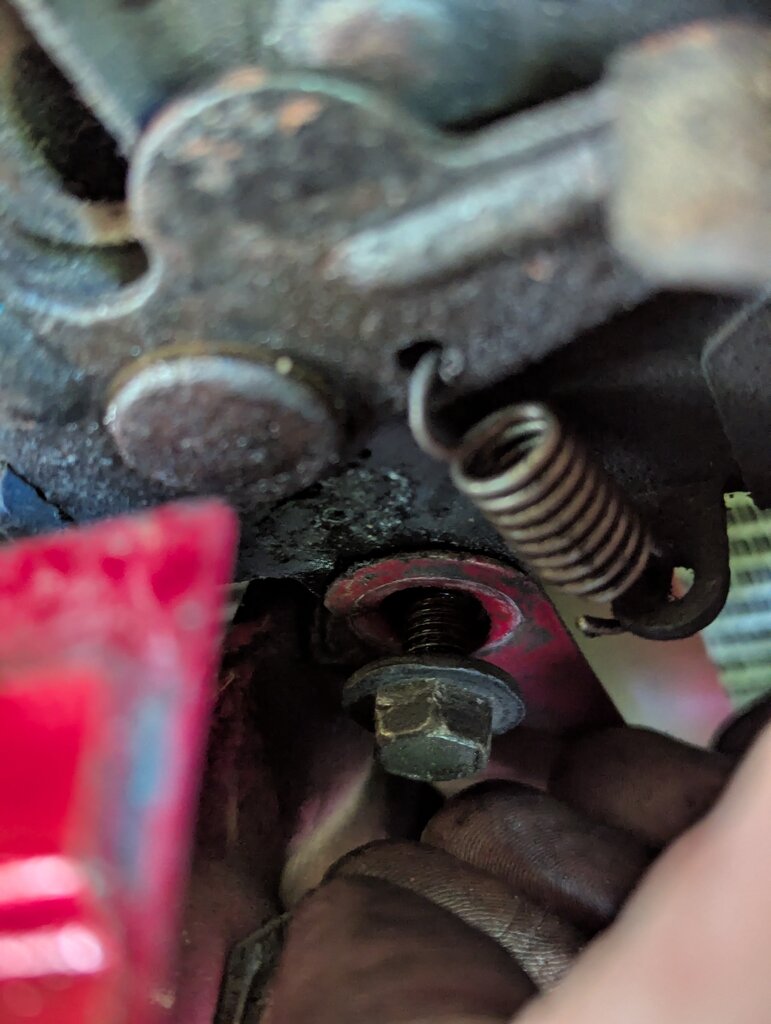
Figure 17, Bolt hood latch back on. You might find, like I did, that the bottom bolt won't thread using your socket extension (since the grill is preventing a flush mating), so you'll have to snake your left hand in to start the thread.
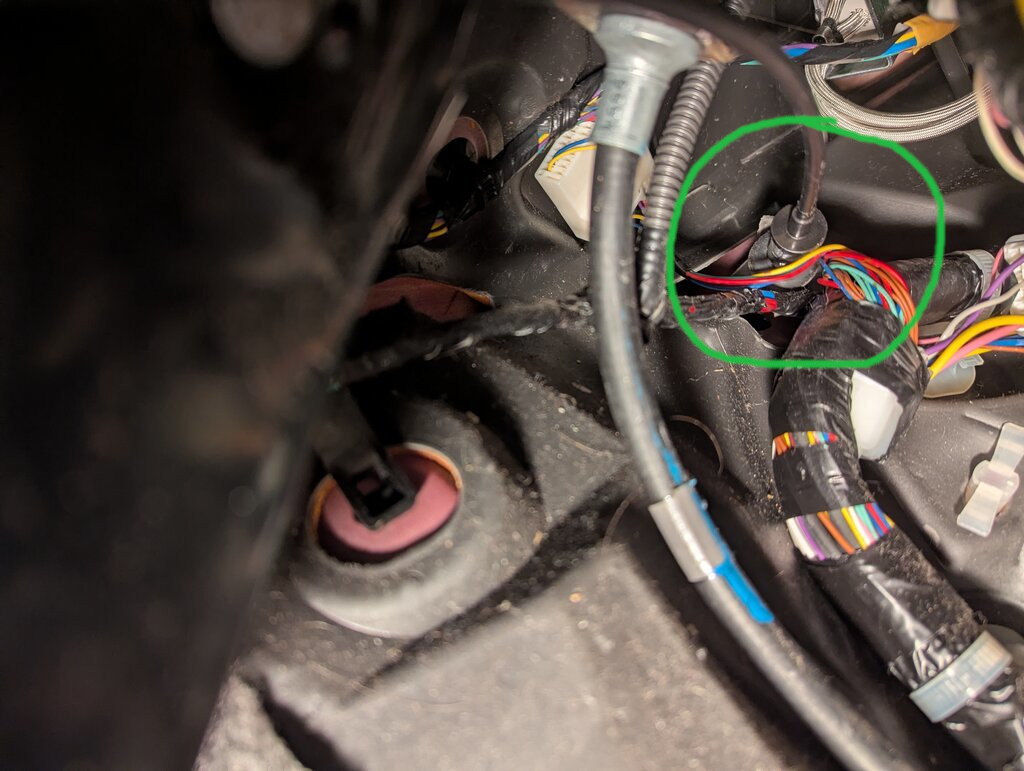
Figure 18, Back under the dash, jam the rubber grommet into the firewall opening. Really push all around until you hear satisfying clicks all sides are in.
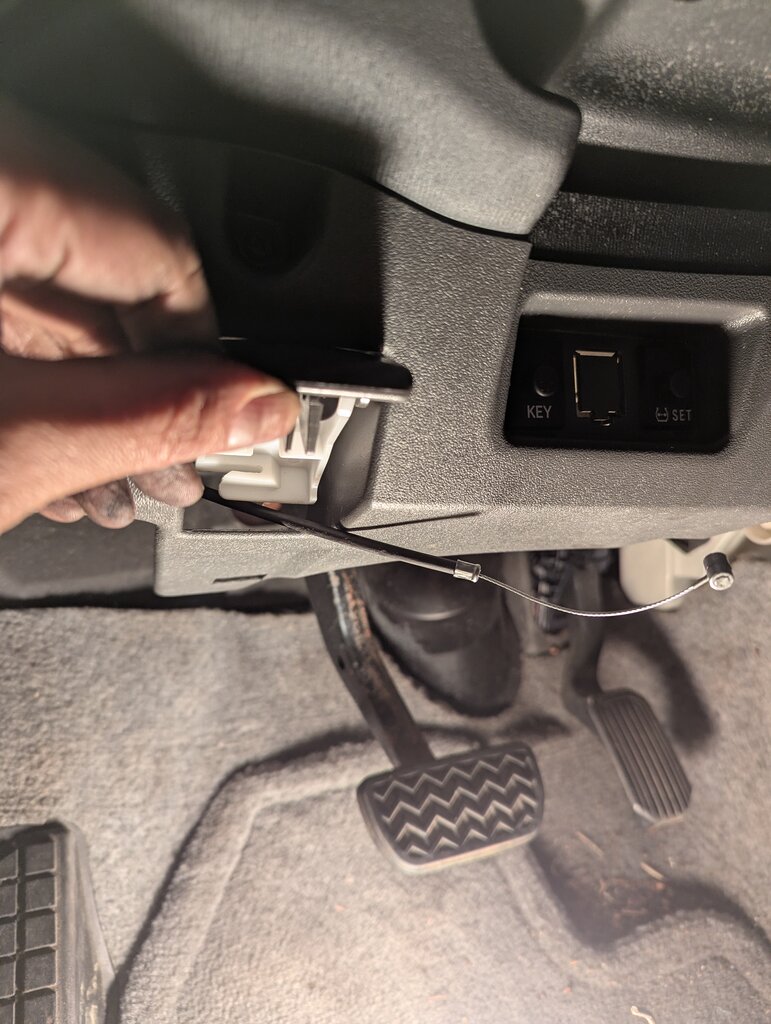
Figure 19, This final step took longest, but it won't for you, because you won't make my mistake. Intuitively, you'll want to thread the inner steel braid into the canal, then slide the barrel stopper into place. That won't work. Don't thread or align anything yet, just give yourself plenty of slack as shown.
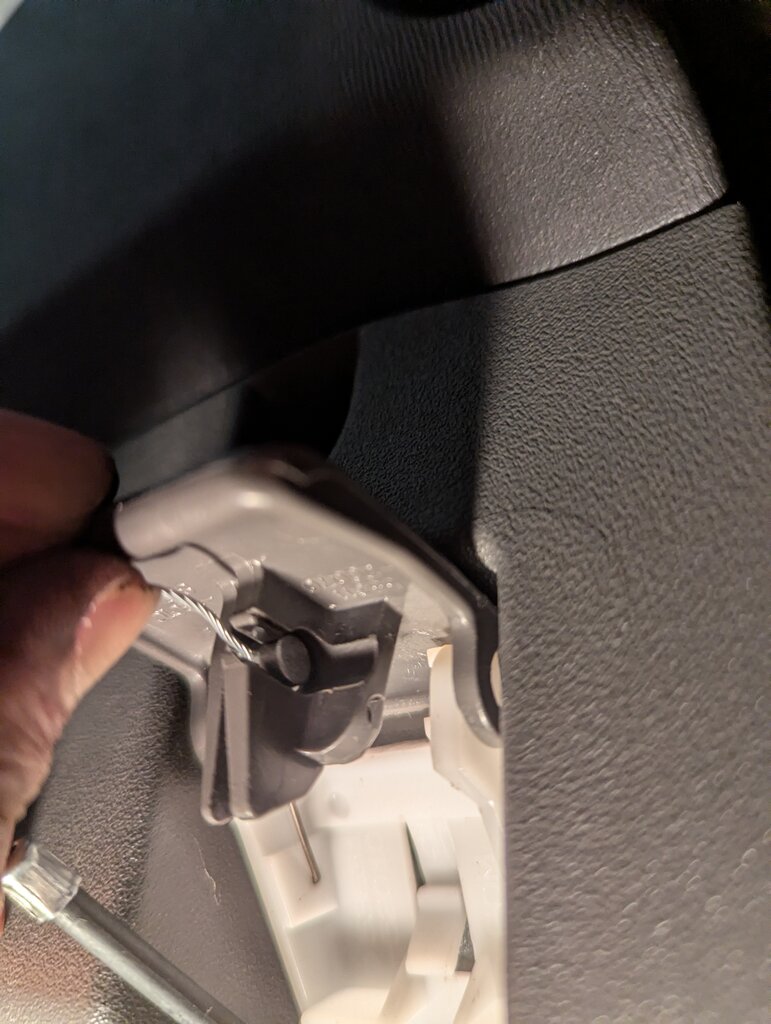
Figure 20, Slide the barrel stopper in FIRST, then pull the steel braid down into the center canal, then finagle cable end into the coax sleeve. Pop the grommet back in from step 6. Three of my wheel lining rivets became nonfunctional, so I slathered rubber cement to the holes, not the rivets, then plugged the holes with the broken rivets.